

Magento extension Custom stock status by WEB4PRO
MageCloud partnered with WEB4PRO to offer Custom stock status in your MageCloud panel for our simple 1-click installation option. To install this extension - create your account with MageCloud and launch a new Magento store. It takes only 3 minutes.
WEB4PRO always provides support for customers who have installed Custom stock status Magento module. Feel free to leave a review for the company and the extension so we can offer you better products and services in the future.
You may want to check other WEB4PRO Magento extensions available at MageCloud and even get extensions from hundreds of other Magento developers using our marketplace.
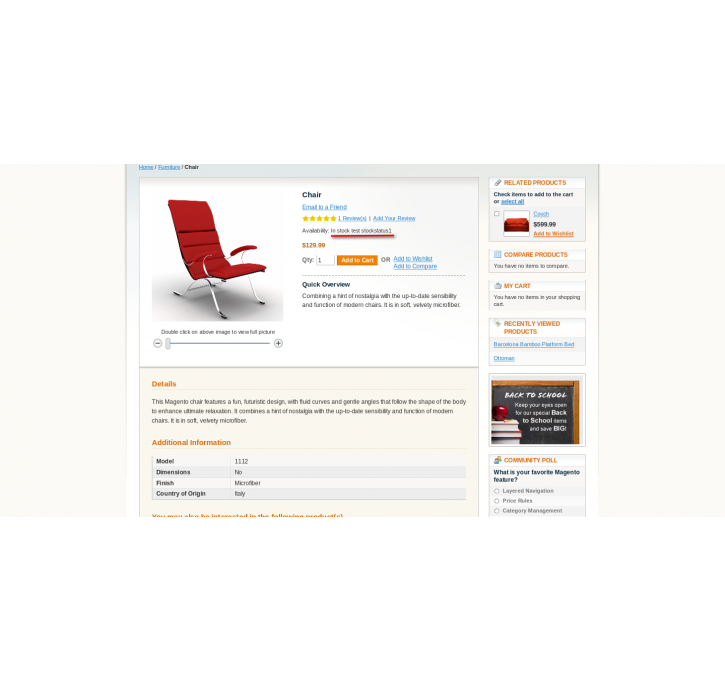
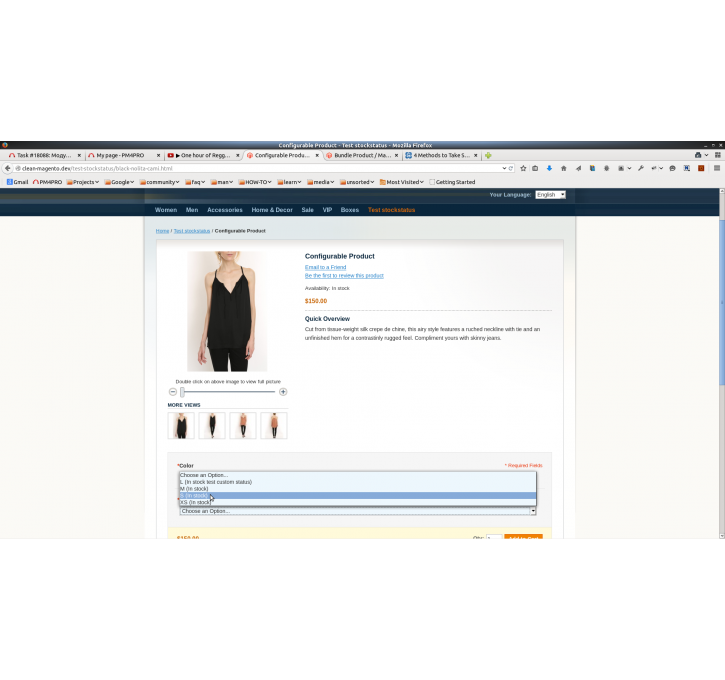
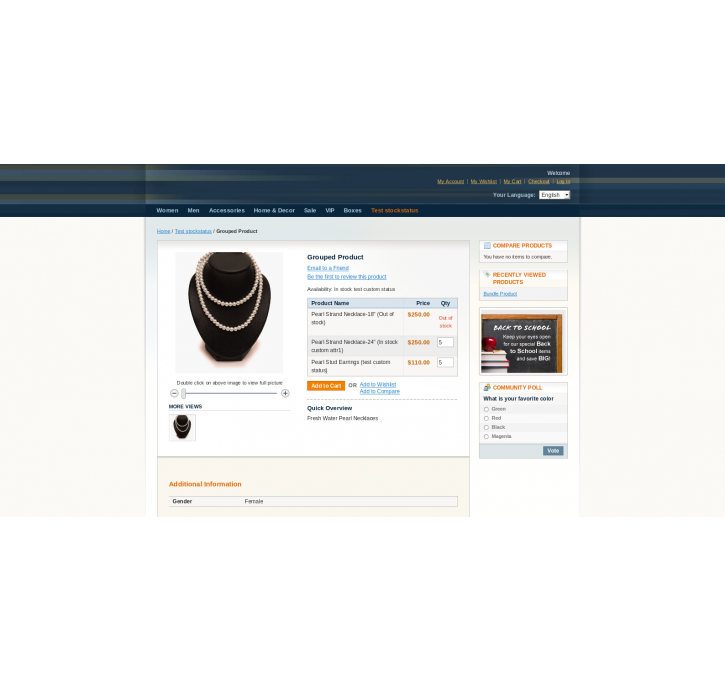
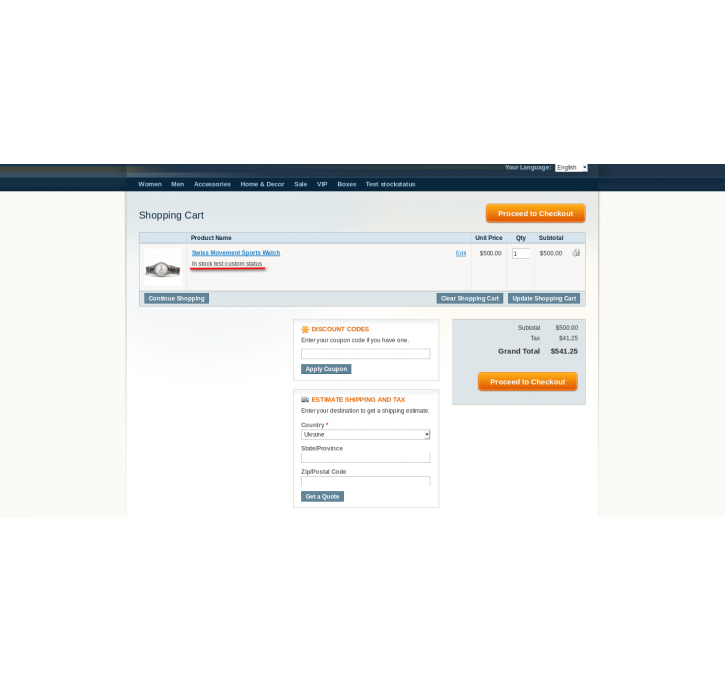
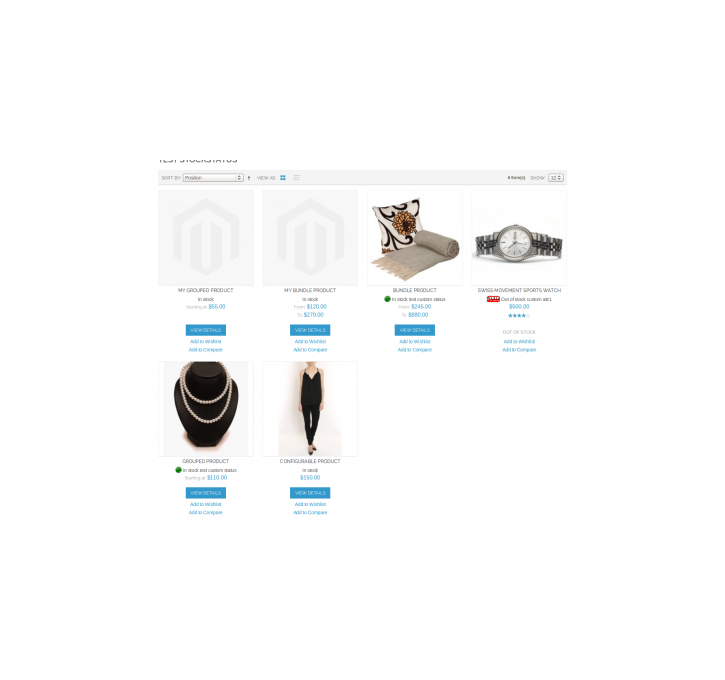
Improve stock status of products, customers will be grateful for additional information.
Compatible with Magento 1.x
Custom stock status
Overview
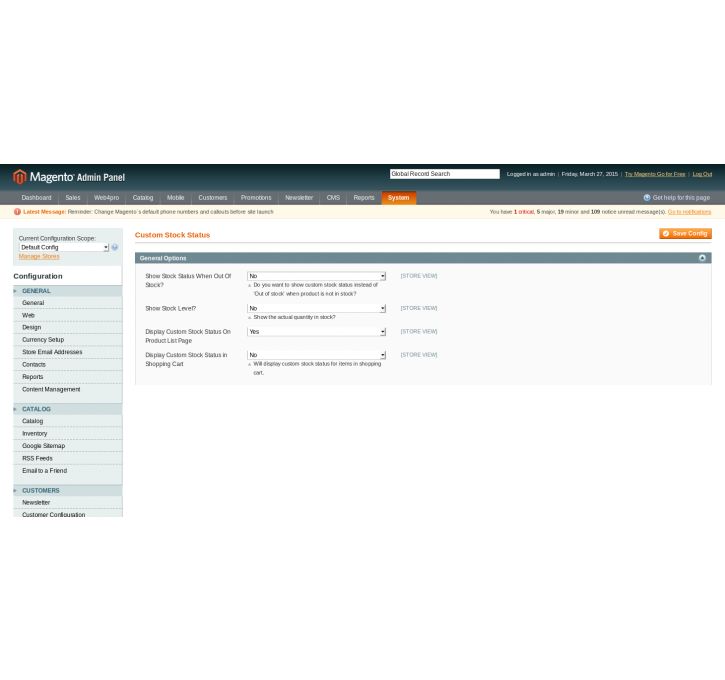
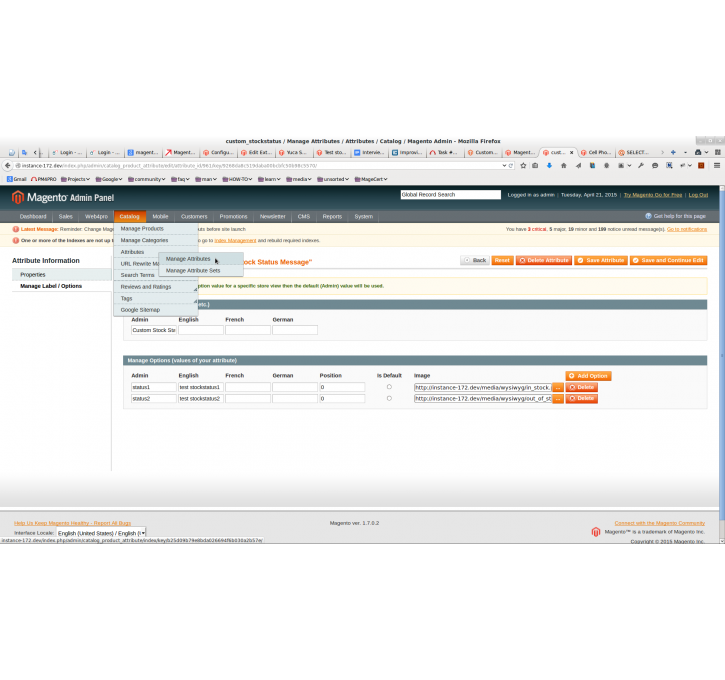
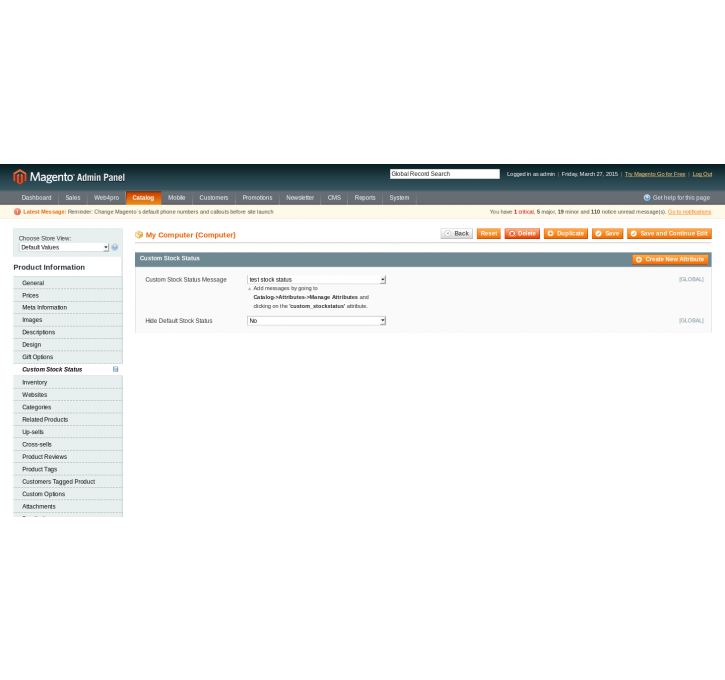
Make stock status more informative add an optional description. Add custom stock status to any type of product. Choose where you want to display a custom stock status.Features:
Important notice:
If you have some problem with installation, please contact us! We will be glad to help you.
“Custom stock status” Installation Manual
1. To install the module “Custom stock status” go to it’s page on magento-connect service.
2. Click on the button “Install now” (login if it needs) select the checkbox “I agree to the extension licence agreement”. Click on the button “Get extension key”. Copy the extension key to clipboard.
3. Make sure that the directories:
- app/code/community
- app/design/adminhtml/default/